Why ‘Brutal Honesty’ Is a Relationship Red Flag

You've probably heard it before; a friend or family member says something insulting to you, then claims they were only being 'brutally honest.' This statement can leave you wondering whether you were right to be offended and whether your loved one has your best interests in mind.

Many people wear this questionable character trait as a badge of honor. And as you might already know, brutally honest people typically don't have your best interests in mind when speaking their truth.

How to Distinguish Between Honesty and Brutality

Honesty is a crucial aspect of all healthy relationships. The key is to be honest without judging the other person. If your partner is unhappy with your contributions around the house, they should broach the issue directly but in a constructive way. This entails offering solutions and providing support to get everyone on the same page.

Conversely, brutal honesty is concerned with tearing the other party down. Instead of just addressing the issue, the brutally honest person will call your character into question. Using the above example regarding housework, they may claim that you're lazy or unmotivated, whereas the issue might stem from a new work schedule or recent illness.

Signs That You're Being Emotionally Abused

For some people, brutal honesty strays into the territory of abuse. Identifying abuse in your relationships can be challenging, especially romantic ones. And while every relationship is different, the following signs typically indicate that abuse is occurring:

  • Harsh Personal Critiques - It's OK to find fault with a loved one's actions, and it's also OK to call those actions out. What's not OK is harshly criticizing a person, especially someone you're supposed to love. 
  • Claims of Over-Sensitivity or Irrationality - It's normal to be sensitive after someone insults or belittles you. Many abusers use this claim to cast doubt on the other person's rationality and reasonability, which causes them to question themselves in the future. 
  • Assumption of Motivations - Even people who've known each other for years can't read each other's minds. Be wary if a loved one claims to know what you're thinking as a means of placing blame on you. For example, they may say you have malicious intent when you do not.

Manipulation - Abusers will also claim that they're the ones actually receiving the poor treatment. This is often the case when you respond to something the person said strongly, in which case they might turn it around and claim that you're the one being abusive. 

What You Can Do About a Brutally Honest Person

The first step is to broach the subject with your loved one. Remain calm and collected as you discuss how their words hurt. Displays of emotion are normal and natural, but they can provide the other person fodder for their baseless claims. Use examples that have occurred in your life and use clear, concise language to explain how they made you feel.

Pay close attention to your loved one's response. If they express genuine dismay that they hurt you and promise to do better, it may be possible to move forward. However, if the cycle of brutal honesty simply begins again, you might want to consider whether the relationship is worthwhile.

You Deserve a Loving and Kind Relationship

You deserve respectful treatment, regardless of the type of relationship or how long you've known the person. And if the person is reluctant to alter their behaviors, they're prioritizing their brutal outlook on life over your feelings.
Upgrading a Traditional Pasta Salad With 4 Healthy Ingredients

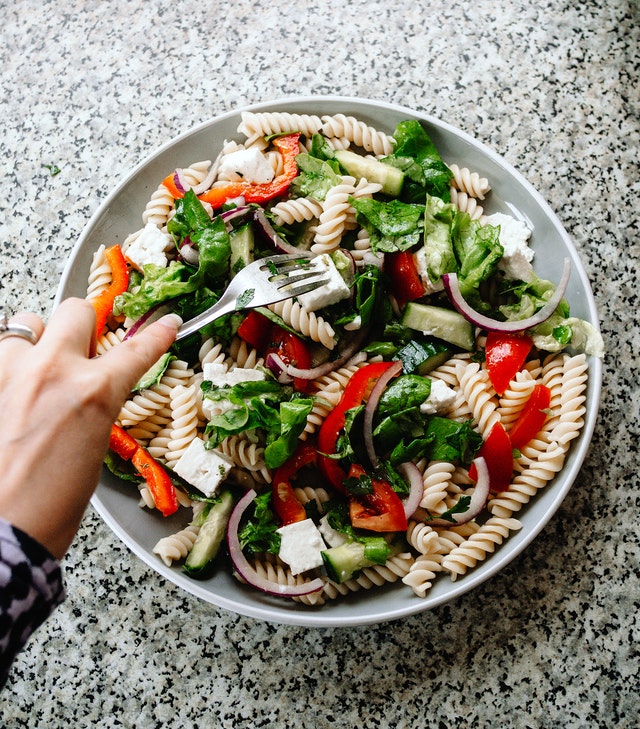
Most people assume pasta salad is unhealthy and, depending on the ingredients; they aren't wrong. The average pasta salad contains loads of carbohydrates and fats.

For people trying to lose weight or eat a heart-healthy and carb-friendly diet, pasta salad seems like an obvious no-go — unless you make a few healthy changes. Swapping out standard white pasta for whole grain pasta is one healthy alternative, as is using an oil substitute like avocado or applesauce. Besides swapping the two primary ingredients for healthier options, you can include additional items to increase the nutritional value.

1. Tomatoes

Tomatoes are a powerhouse of vitamins and minerals, but that is not the only thing that makes them unique. The bright red food contains lycopene, which produces its color and supports the immune system.

Lycopene-rich foods reduce your risk of certain cancers and diseases. The substance helps the body, in part, by fighting free radicals that can damage cells. Lycopene may also reduce levels of LDL or "bad" cholesterol.

2. Bell Peppers

Like tomatoes, bell peppers are nutritionally rich. While the peppers contain many vitamins and antioxidants, the level of vitamin C and various carotenoids make the food exceptionally healthy.

Vitamin C, or ascorbic acid, is essential to several bodily functions, including wound healing, collagen production, iron absorption, immune system performance, and the maintenance of teeth, bones, and cartilage. One bell pepper contains 169% of your recommended daily intake.

Carotenoids are the compounds that give bell peppers their vibrant colors. They also act as antioxidants in humans. Bell peppers contain several carotenoids, including:

  • Capsanthin (red bell peppers)
  • Violaxanthin (yellow bell peppers)
  • Lutein (green bell peppers)

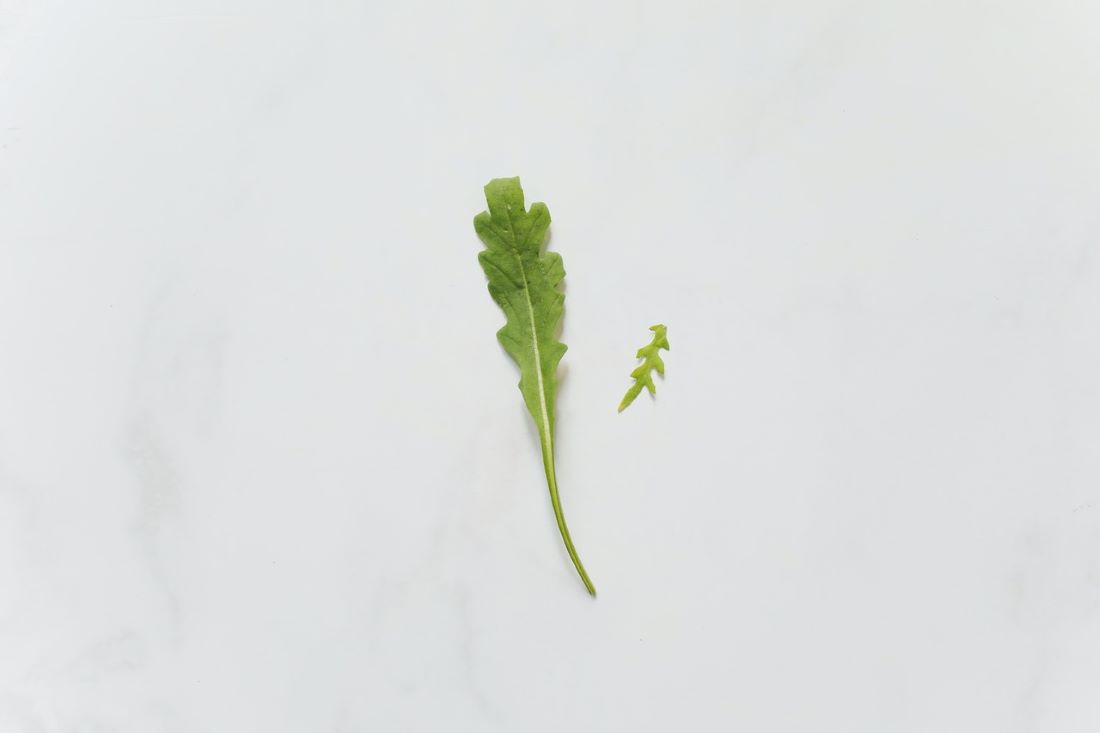
3. Arugula

As a cruciferous vegetable, arugula is a dark leafy green similar to kale or cabbage. The flavor profile is spicy and bitter and only gets stronger with age. It can be the perfect addition to a pasta salad, especially if lacking a little kick.

The vegetable is a rich source of antioxidants, but what makes it unique is glucosinolate and vitamin K. Glucosinolate causes the potent scent and bitter taste of the plant; it also can reduce the risks and protect against certain cancers.

Vitamin K is essential for bone building and blood clotting. People who consume enough of the nutrient can reduce their risk of osteoporosis. One cup of arugula provides nearly 22 mcg of the 80 mcg daily recommended requirement.

4. Chickpeas

Chickpeas are an excellent protein source because they are a complete protein: they contain all nine essential amino acids, the keys to proper bodily function. Also, the legume contains several vital nutrients and a generous amount of fiber.

Choline, an organic, water-soluble compound, is present in chickpeas. The compound is unique because it contributes to a healthy brain and functioning nervous system.

Aside from being a vegetarian and vegan-friendly protein, chickpeas promote weight control and cardiovascular health, control blood sugar spikes, and maintain gastrointestinal health. The legumes also provide a lovely texture and subtle flavor to pasta salad.

Pasta salad is traditionally unhealthy, loaded with carbs and "bad" fats. However, you can alter the conventional perception of the dish by upgrading, eliminating, and adding certain ingredients. Using whole grain pasta and healthy fat as a foundation, you can add tomatoes, bell peppers, arugula, and chickpeas to the salad for flavor and crunch. The upgraded salad will be much healthier than the pasta salads you're used to.

Why You Should Never Store Sunscreen in the Car

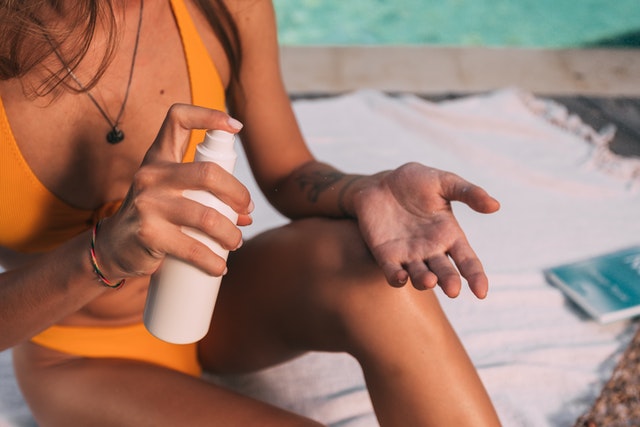
As ironic as it sounds, sunscreen and sunlight don’t mix. Elevated temperatures cause the ingredients in sunscreen to break down, making it less effective at protecting your skin against UV rays. That SPF 50 suddenly becomes SPF 15 or worse without you knowing. To keep your skin safe, take good care of your sunscreen.

Common Mistakes When Storing Sunscreen

If you’ve ever ended up with a sunscreen that looks like cottage cheese, overheating is the reason why. Here’s how it usually happens:

  • Keeping sunscreen in the car: On paper, this sounds like a great idea. The problem is that vehicle interiors get insanely hot. Comfortable 70-degree weather outside translates to 104 degrees Fahrenheit inside the car, and that’s in just half an hour!
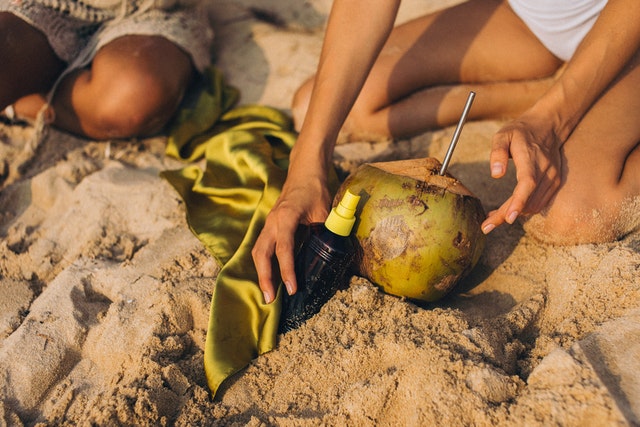
  • Leaving the bottle in direct sunlight: At the beach, some people slap on sunscreen, toss the bottle on top of their towel and jump into the water for a swim. Unfortunately, direct sunlight cooks sunscreen like an egg on the sidewalk.
  • Storing sunscreen near sunny windows: A cool house doesn’t mean sunscreen is safe from the sun’s rays. Keep your sunscreen somewhere else if the sun shines on your desk or nightstand during the day.
  • Forgetting to close the cap: Leaving the sunscreen bottle open can let hot air, bacteria, sand and salt inside. This combination isn’t good for your skin. When sunscreen smells funny or looks yellow instead of white, it’s time to buy a new bottle.

Tips for Keeping Your Sunscreen Cool at the Beach

At home, it’s pretty easy to keep sunscreen at the right temperature. However, things are trickier when planning to spend all day at the lake or the beach. Follow these tips to keep sunscreen cool when it’s blazing hot outside:

  • Wrap the bottle in a towel: Layers help insulate your sunscreen from the sun. Fold the towel in half and wrap away until your bottle is snug as a bug.
  • Use a large tote: Instead of a small purse, opt for your mammoth beach tote with snacks, water, sunglasses and other beach essentials. This gives sunscreen an extra barrier against the sun.
  • Take along a beach umbrella: Shade is your best bet for keeping sunscreen cool. At the lake, set up camp under a shade tree. At the beach, make your own shade with an umbrella. Beach umbrellas also protect your skin if you decide to nap on the sand.
  • Bring the ‘screen with you to the bathroom: If you need to run off to the bathroom, take your sunscreen with you, so it gets a chance to cool off. You need to reapply every few hours anyway.

Every Day Is Skin Protection Day

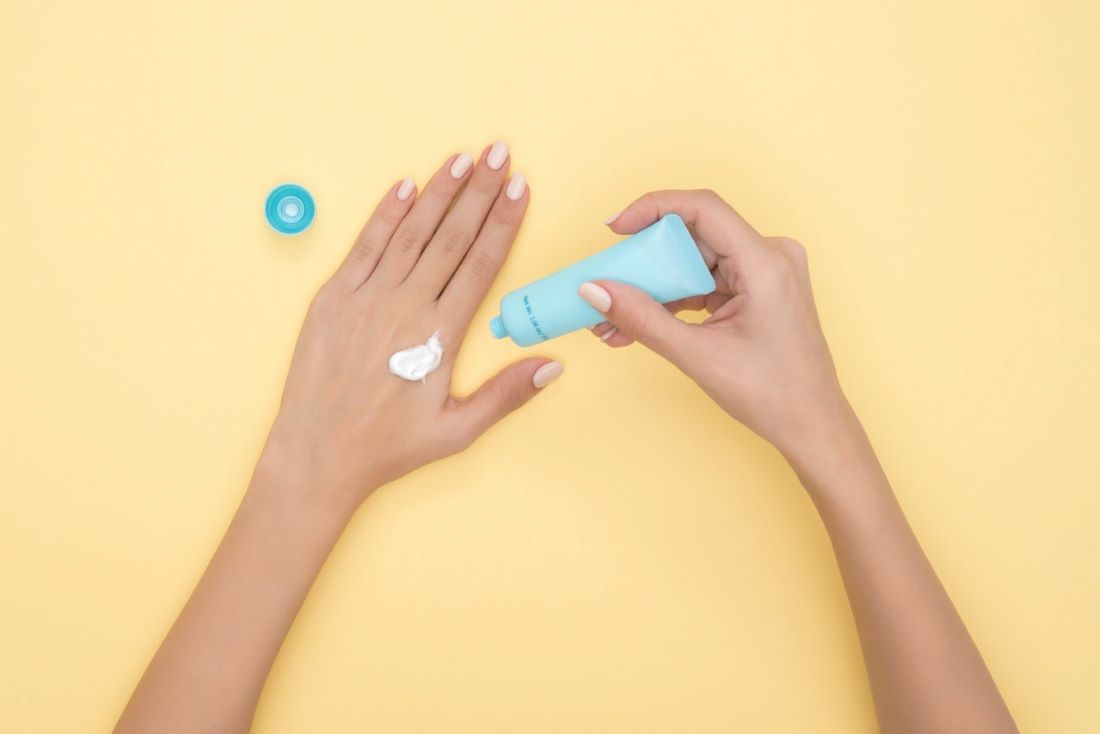
Using sunscreen every day is a great habit for skin health. At home, store it somewhere easy to reach and comfortably cool, such as a bathroom countertop or bedroom dresser. At the office, keep it in clear view instead of stashing it in a drawer. That way, it’s easier to remember to apply sun protection regularly.

To enhance your barrier against UV rays and keep skin moist, make sure you’re getting plenty of antioxidants. These natural cellular protectors are found in blueberries, black raspberries, strawberries, goji berries, pecans, red cabbage and leafy greens.

Sandal Season Is Prime Foot Care Season

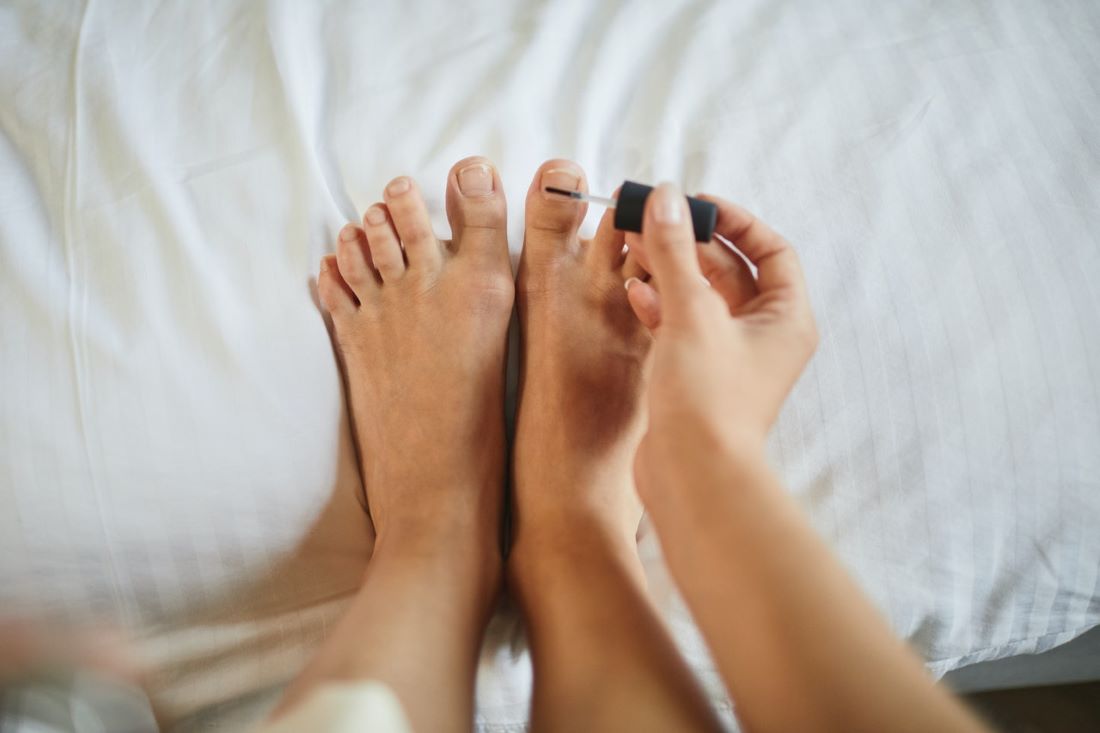
After hiding your feet in boots, sneakers, and heels during the long fall and winter months, the spring arrives to give your toes a chance to breathe. With more exposure to the sun and environment, you need to take extra care of your feet in the spring and summer, especially if you want to take full advantage of the sandal season.

Many people are self-conscious about their feet. Since feet are often covered, wearing open toes can make some feel a little exposed. Some people might feel their feet are unattractive or unworthy of sandals, but that's simply not true. With the right foot care regimen, all feet deserve a little time in the sun.

1. Soak and Exfoliate

All the time spent inside a dark shoe can lead to roughness. Also, the lack of a foot care routine in the winter — a common lapse among even the most committed foot lovers — can cause the development of calluses.

The first thing you need to do to prepare for sandals is indulge in a soak and exfoliation. You do not want to go right at rough skin; you want to let your feet soak in warm water for about 10 minutes to soften the skin. Only after soaking the skin should you apply an exfoliating cream to the entire foot. Follow the instructions of the product you use. If you would prefer a more automated method of exfoliation, you can purchase an automatic foot buffer or scrubber.

2. Moisturize

The skin on the bottom of your feet is thicker and requires regular and intense hydration. Dermatologists and podiatrists recommend using creams, butters, or balms after exfoliation treatments. Most professionals recommend applying a shea butter-type moisturizer on your feet before bed every night.

Before you use any products on your feet, you might want to talk to your podiatrist first. Your doctor can help you identify the best products for your skin, and you can avoid any potential risks, such as allergens.

3. Cuticle and Toenail Care

Many people go to nail salons and have their cuticles cut. Healthcare professionals do not advise the removal of cuticles. To ensure the healthiest cuticles, professionals recommend using cuticle oil every day. The oil will help moisturize scraggly and dry cuticles, helping the body shed dead skin and maintain a healthy appearance.

If you have yellowing or dark toenails, manicurists suggest using a whitening toothpaste on them. However, before attempting any DIY and cosmetic treatment, ensure the color change is not a result of an infection.

4. Pedicure Top Coats

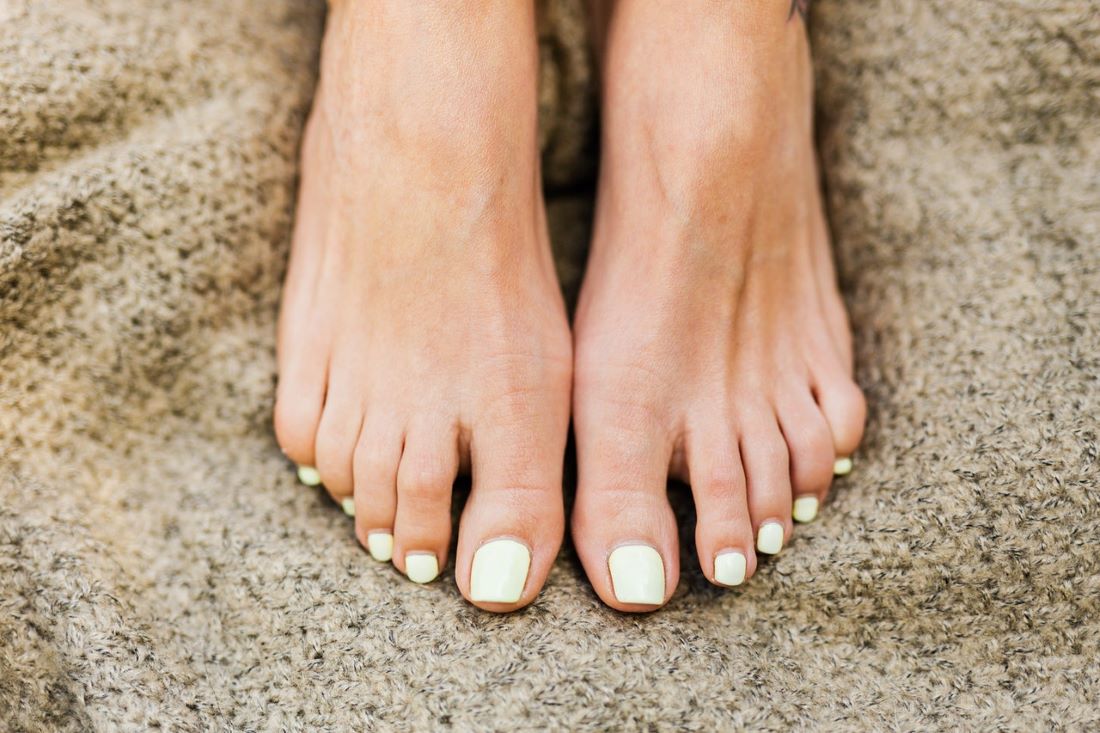
Many people spend good money on pedicures. The problem with pedicures is they don't last long. To prolong a pedicure, professionals recommend applying a clear top coat on the second and fifth days after treatment.

Sunscreen is also the enemy of a long-lasting pedicure, which is why you should always carry fresh wet wipes. After applying sunscreen, use a wipe to clear away excess on your toenails.

5. Sandal Selection

Sandals made from synthetic materials are often cheaper than those made from leather. Leather sandals, however, are worth the upgrade.

Leather soles, uppers, and foot straps have more give than man-made materials. The extra breathability reduces the risks of blisters and other potential foot problems.

While foot care is essential all year, most people take special care in the summer, when it is time to showcase your toesies. The above routine is a healthy and fundamental foot care routine. If you want more information, talk to your podiatrist or another foot health professional.

4 Alternatives to Traditional Glute Workouts

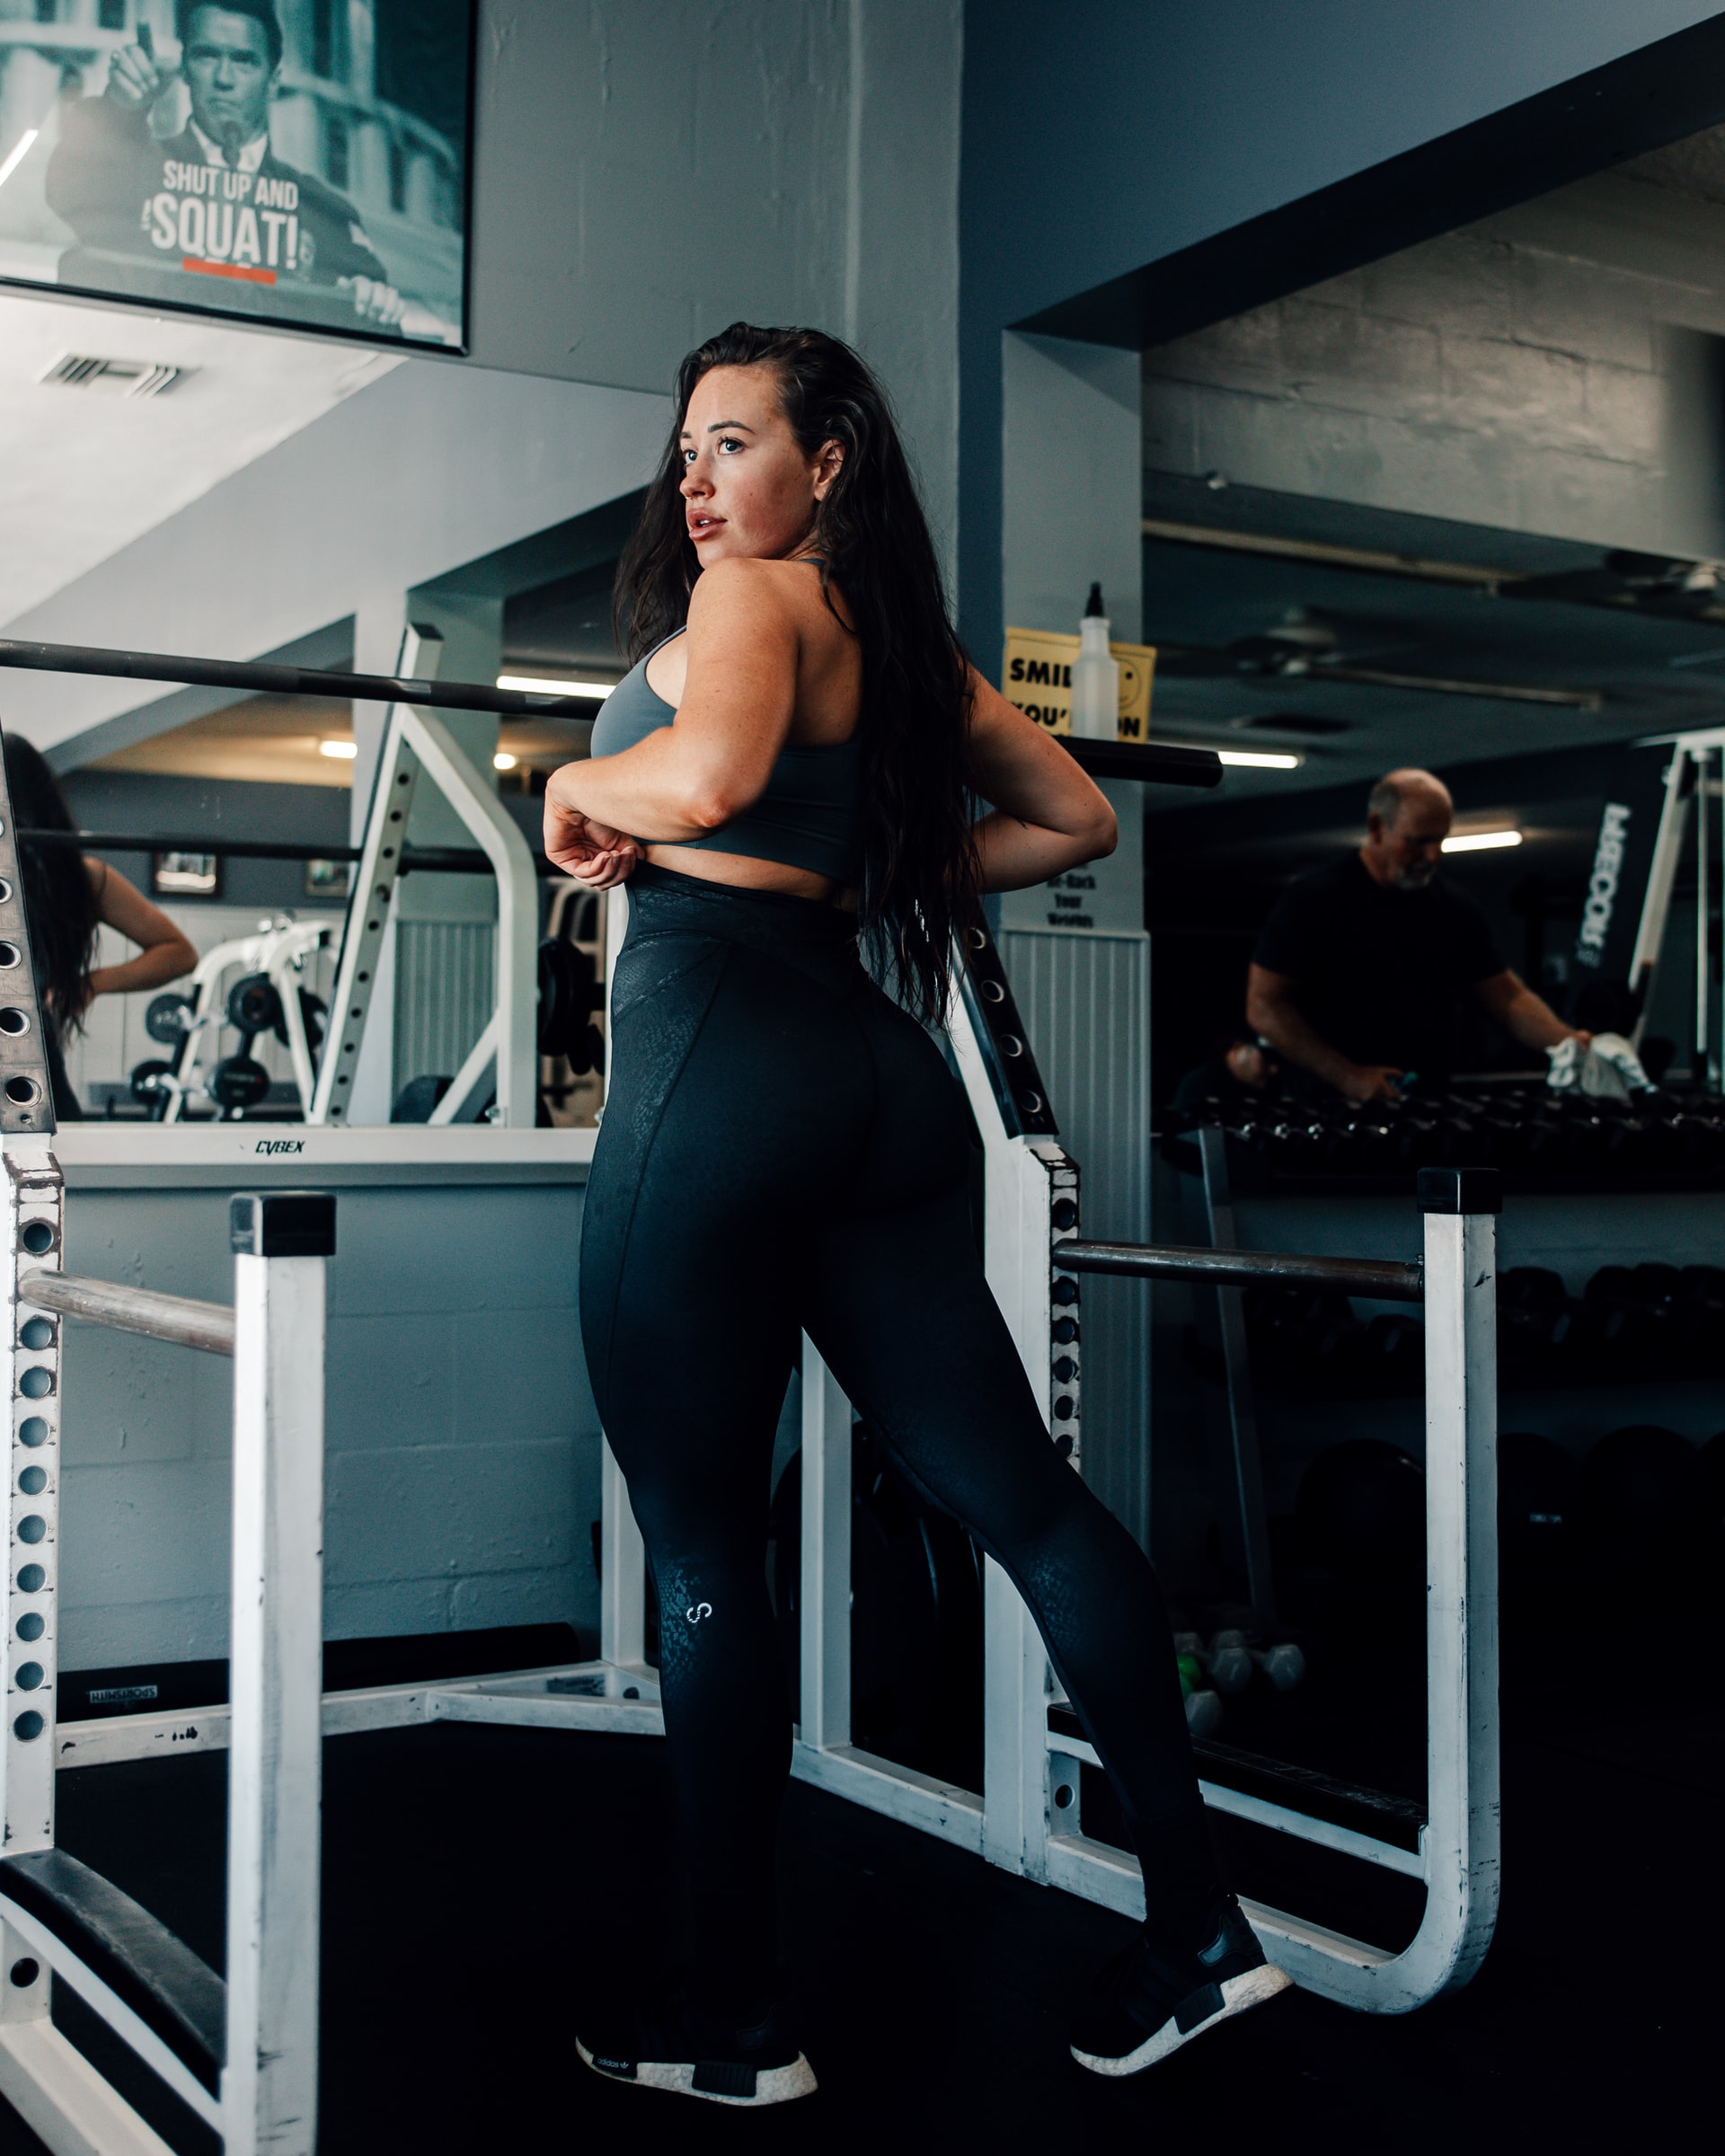
The glutes are among the strongest muscles in the human body. The glutes are critical to daily activities from walking, standing, sitting, and bending. At a physiological level, the backside is the foundation for good posture, maintaining a neutral pelvis, and ensuring correct lumbar curvature. Aside from providing necessary stability, many people consider toned hindquarters attractive.

There are several exercises for toning and strengthening the glutes. Some of the more common bun exercises include:

  • Squats 
  • Glute bridges 
  • Glute kickbacks 
  • Abductor raises (fire hydrants)

Unfortunately, most people do not perform these workouts correctly, rendering them useless. To strengthen and tone your rear, you need to focus on form and follow-through. People may want to exchange traditional glute workouts for easier and more targeted alternatives.

1. Exchange Quarter Squats for Deep Goblet Squats

Squats are one of the foremost exercises for building glute muscles, but too many people ignore proper form. Most people perform quarter or mini squats, exaggerating a hip thrust to engage the buttocks. Shallow squats do little to build or tone the glutes, regardless of the number of reps.

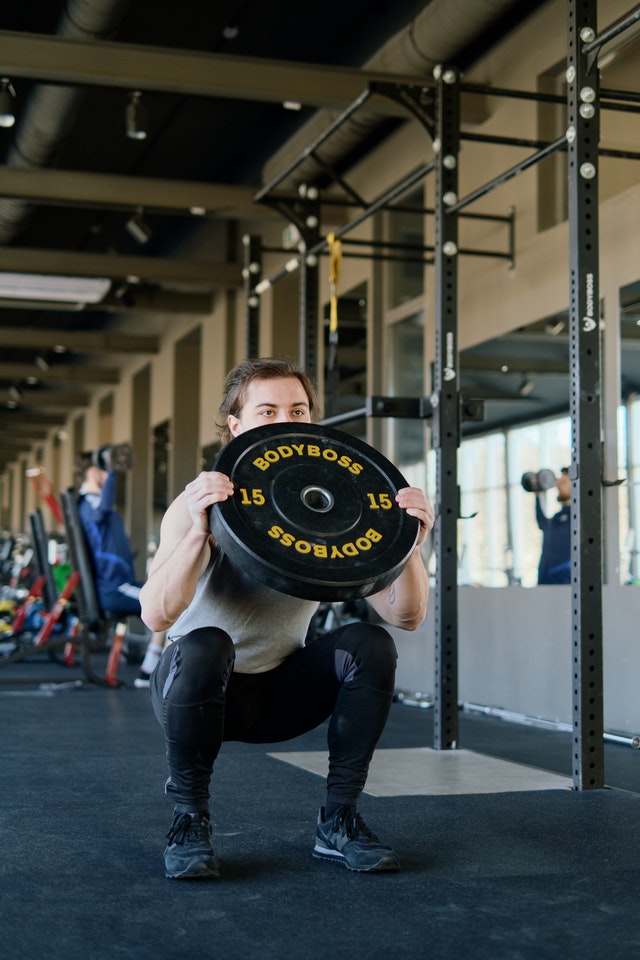
A better exercise is a goblet squat. You will need a kettlebell or dumbbell to perform this variation of a squat. Hold the weight to your chest, move into a squat position by hinging at your hips, but don't stop. You want to sink to a full depth. To return to a standing position, push up using your glutes and hamstrings, ensuring your knees track outwards.

2. Alter the Speed and Posture of Glute Bridges

Glute bridges are an effective exercise, but form and movement matter. Too many people rush the activity, acting like they are in a bad 80s workout infomercial.

A glute bridge requires slow, deliberate movement to activate the proper muscle groups. You start the exercise on your back, pulling your heels in until they almost touch your butt. Tighten your core muscles, and then, putting the force into your heels, lift your butt off the floor. Keeping your core tight and back supported, continue the lift to your full range of motion. Squeeze your glutes at the peak and hold before slowly lowering to the starting position. This exercise is about engaging the right muscles and moving slowly and steadily.

3. Change Kickbacks to Romanian Deadlifts

Despite the popularity of glute kickbacks, the exercise is challenging for most beginners. Many people think they are doing the exercise correctly, but in reality, they often fail to engage the glutes. The movement also creates risks of injury.

A safer and more effective exercise is the Romanian deadlift. You will need a set of dumbbells. Hold a dumbbell of equal weight in each hand. With a straight back and arms at your sides, hinge at the hips, slowly lowering the weights. Lower to your full range of motion before slowly lifting yourself back to the starting position.

4. Cut Fire Hydrants for the Curtsy Lunge

Like kickbacks, abductor raises, or fire hydrants are potentially problematic and ineffective glute workouts. Many people hinder the strengthening of their glutes by compensating for imbalances; transferring tension to other areas of the body.

The curtsy lunge is a more effective glute workout. Put your weight on the right leg. Move your left leg back, crossing it behind your body in a curtsy-like position. You will dip into the lunge, putting the weight of your body on the outside of the right foot. Perform several reps before switching to the left leg.

Strong, defined glutes require exercise. The correct exercises should reduce injury risks and ensure proper form.

5 Reasons To Avoid DIY Sunscreen Options

Fans of DIY beauty often cite the overuse of chemicals as the primary reason for avoiding commercial beauty products. Understandably, people want clean, sustainable, and healthy products, especially when discussing items used on the skin. However, the matter gets complicated when talking about sunscreen.

Some advocates of the natural and DIY beauty movement disavow commercial sunscreen because of its dependence on chemicals. However, there is currently no DIY option considered safe or effective for personal use. According to several dermatologists, DIY methodologies can result in severe burns or a lack of UV protection — researchers found many formulas do not specify SPF protection. When tested, some recipes provided a sun protection factor of 2, well below the recommended SPF 30.

While DIY enthusiasts have legitimate objections to some ingredients in many popular sunscreen products, DIY options are not capable of protecting against UV rays. There are many reasons for DIY's failure to develop an adequate sunscreen replacement, but most experts agree on five.

1. Efficacy

How long does a DIY sunscreen last, what is its SPF, and how do you know? The problem with most DIY sunscreen options is a lack of research or evidence to support their efficacy. It is impossible to understand the effectiveness of a formula without testing it in a laboratory.

Commercial sunscreens undergo vigorous testing to ensure they are effective on various skin types, weather conditions, and applications. Without lab tests, you cannot know how effective a DIY option is, and you will be hard-pressed to find DIY recipes with documented lab results and scientific support for SPF and coverage claims.

2. Time Effectiveness

SPF protects your skin against erythema, also known as sunburn. The strength of the SPF indicates how long you can stay in the sun before your skin begins to turn red. However, the skin change induced by solar radiation is not a flawless method for identifying SPF strength or timing effectiveness because erythema can occur between six to 24 hours after exposure.

Therefore, while some people believe you can test the strength and effectiveness of a DIY sunscreen by sitting in the sun and waiting to see a reaction, the process in and of itself is ineffective. The only way to understand the SPF value and strength of the formula is in a lab.

3. Formulation Challenge

Even when a person finds an effective SPF carrier, all other ingredients in the sunscreen recipe affect the agent. Additionally, the SPF is further affected by the manufacturing process. Without a lab and rigorous testing, it is impossible to know if specific ingredients or methods dilute or bolster the SPF carrier.

4. Ingredient Stability

Stability is a complex issue when discussing sunscreen. A manufacturer must ensure that the products are stable with each other and photostable, meaning stable in the sun. On top of stability, concerns are concerns about degradation, oxidation, preservation, and clumping.

When sunscreen is not mixed precisely, it can become volatile or ineffective. Most DIY recipes are not built on the presence of consistency, effectively negating stability. Only a lab with the proper equipment can create an effective, stable sunscreen without presenting significant risks to the consumer.

5. Safety

Safety is the primary concern when discussing DIY sunscreen options. The mix of the wrong chemicals can result in burns, and using ineffective recipes leaves people exposed to UV rays. Dependence on DIY sunscreens can lead to greater sun exposure and increased skin cancer risks.

Commercial sunscreen is the only viable, reputable, and effective sunscreen option. DIY options are untested, variable, and unsafe.

5 Stretches To Release Tight Hips

Often due to sitting at a desk for hours every day, hip pain is a common issue among adults. Stretching can provide some relief by opening up the hips, encouraging flexibility, and helping with mobility. Stretching helps extend tight muscles and, over time, improves their reflexiveness of them. Stretching can also reduce joint pain.

The hip flexors should be the focus of any hip-opening routine. By performing appropriate hip flexor stretches, you can significantly improve your day-to-day. Several stretches can help restore mobility to the hips and open you up.

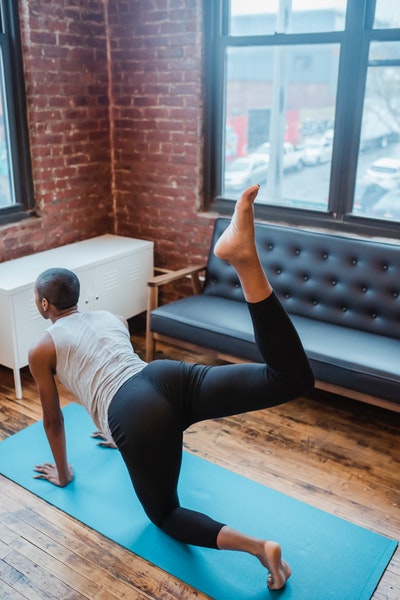
1. Leg Lifts

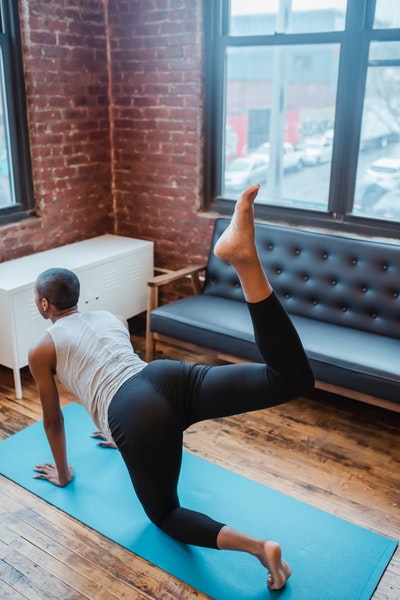
While technically an exercise, leg lifts do stretch the hips. You want to start this exercise on all fours. Extend one of your legs straight back, so half of your body resembles a pushup pose. Squeeze the glute and hamstring of the extended leg and lift it toward the ceiling. Hold the leg in the air for a few seconds before slowly lowering it back to the ground. You can repeat this on each side, counting to a specific number of reps. You will also want to keep your back straight and your abs tight during the exercise.

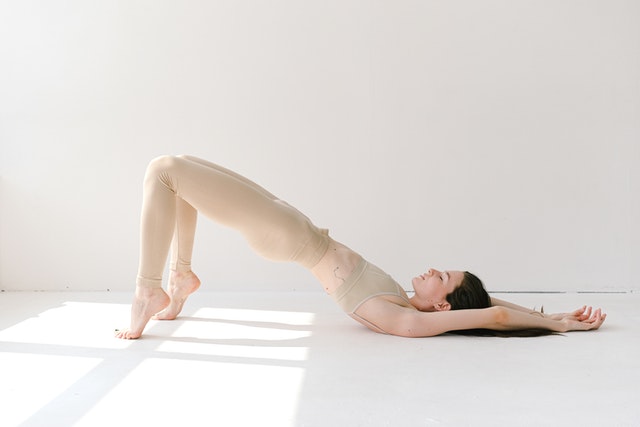
2. Bridge Pose

The bridge pose is essentially a horizontal pelvic thrust, which is excellent for opening your hips. You will start this stretch lying on your back with your soles on the floor and your knees bent. You want your arms stretched at your sides. Lift your glutes from the floor until your knees, hips, and shoulders are aligned. Hold the position for 10 seconds before slowly returning to the start position.

3. Butterfly Stretch

The butterfly stretch opens the hip flexors, inner thighs, and back, encompassing the entire hip region. You start in a seated position. You to sit with the soles of your feet together. Tighten your abs and keep your spine tall. Using your hands, grab each foot, placing your elbows at your inner thighs. Inhale deeply, and as you exhale, lower your torso, keeping your spine long. Hold for 30 seconds when you feel it.

4. Yogi Squat

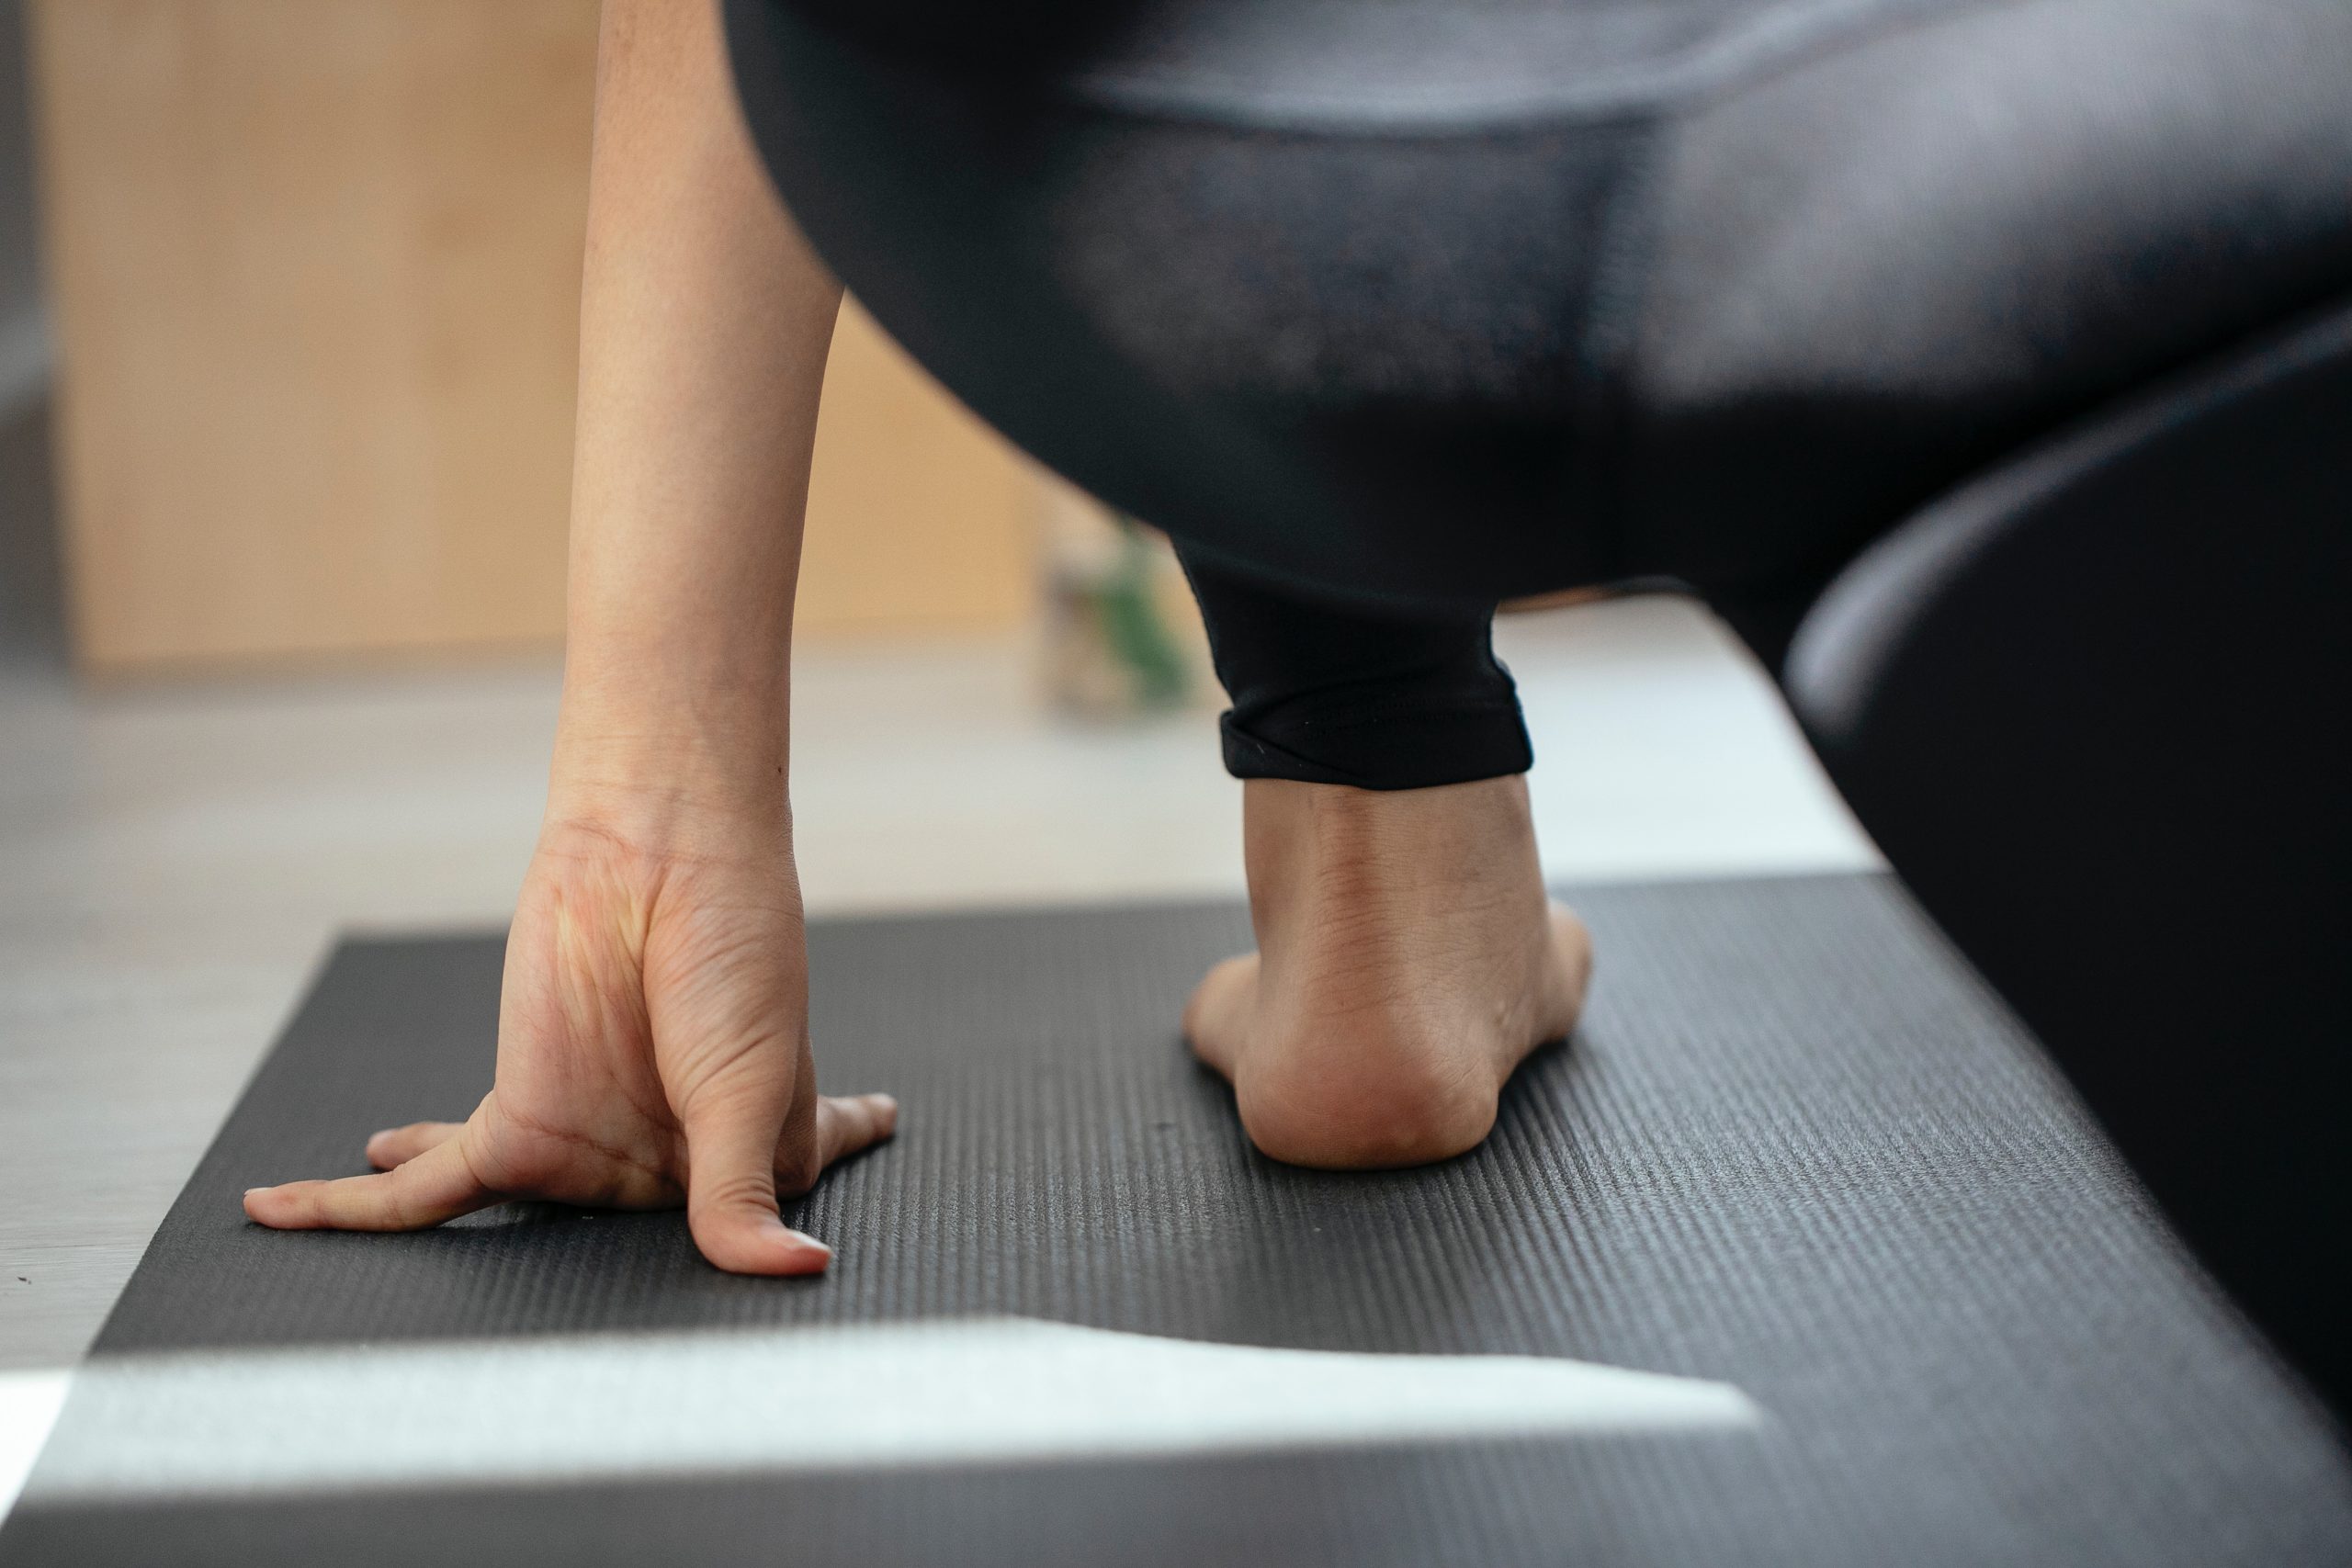
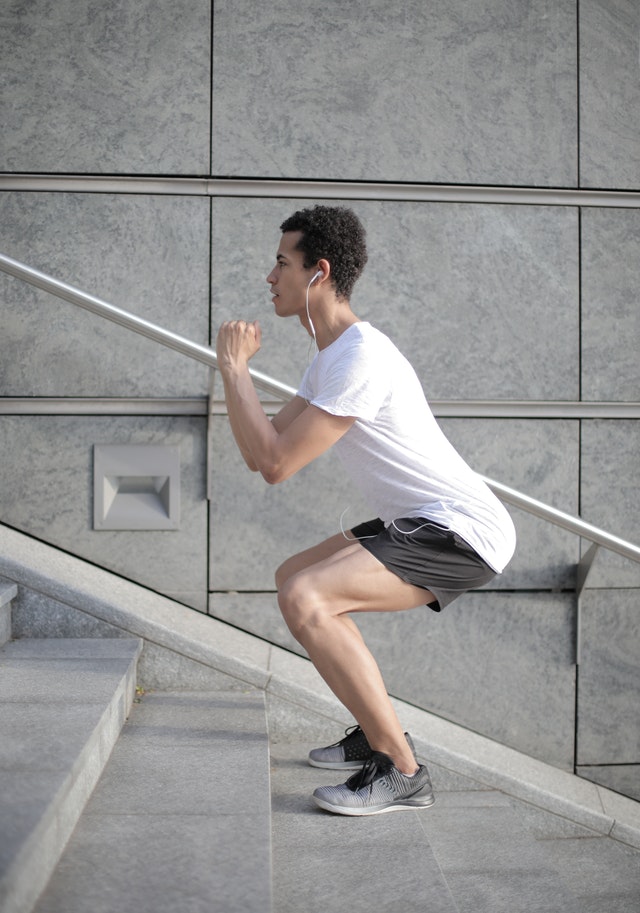
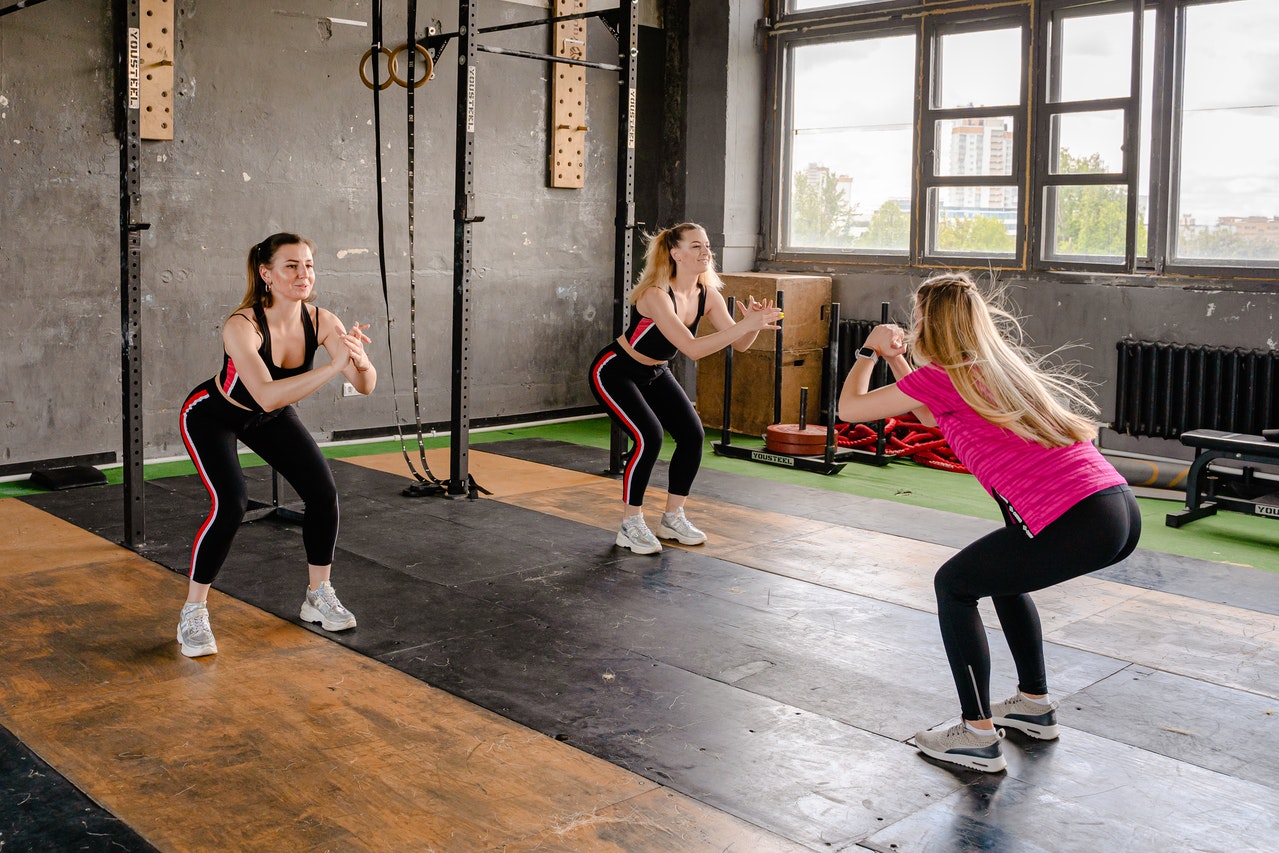
The yogi squat opens the inner thighs and hips. Stand with your feet about shoulder-width apart and angled outward. Crouch into a squatted position with your tailbone between your ankles. Your hands should be in a prayer position at the chest. Your elbows should be pressed against the inner thighs. As you hold your hands firmly and press your elbows against your thighs, count to 30.

5. Happy Baby Pose

The happy baby pose is an excellent stretch for the hips, spine, and legs. Start by laying on your back. Bend your legs and bring your up. You can use your index and middle fingers to grab your big toes. Pull the toes down, bring the knees closer to the shoulders, and press the elbows into the knees. Hold the position for 30 seconds.

Tight hips are a common and uncomfortable problem, likely a side effect of desk jobs and similar activities. Thankfully, stretching is a good way to relieve some of the joint pain and improve flexibility and mobility. The above exercises are an excellent place to start, but there are more hip flexor exercises to explore.

Try This Easy Way To Work Your Glutes Just While Walking

Do you get tired of living with shapeless buns that can barely hold your pants up? The good news is that you don’t have to do endless squats or walking lunges to get some shape to your derriere. Though it may sound too good to be true, you can tone and challenge your glutes just while walking! You just have to focus on how you walk to make sure you get maximum butt-toning benefits. Here’s how I keep my backside in shape during my daily walks.

Step 1: Take Time to Warm Up

I get it, warming up seems like a waste of time when you’re already busy and struggle to fit a workout into your day. But don’t skip it! Warming up primes your muscles for movement and helps you avoid injuring yourself. Though walking isn’t exactly a high-risk exercise, it is still possible to twist an ankle or pull a tendon if your body isn’t sufficiently warmed up before you hit the trails.

Step 2: Find a Slight Incline

It’s pretty easy to walk on flat ground without breaking a sweat. But if you want to tone those glutes, you need to look for an area with a slight incline (or a steep incline, depending on your fitness level). Once you find the ideal destination, it’s time to get your form right so every step helps firm up that booty.

Step 3: Roll Through Your Steps

To recruit your glutes into your walking motions, you need to roll your feet from the heel to the toe with every step. Take this movement slow in the beginning to make sure you get the motion down. Each time you step forward, let your heel be the first part of your foot that makes contact with the ground, then sweep the motion through to the ball of your foot and push off the ball of your foot as you continue forward with the next step.

When your heel contacts the ground, squeeze your glutes together. Imagine someone just gave you a pencil and you have to hold it between your cheeks so you don’t drop it. That’s a strange place to put a pencil, I know, but the visualization really helps keep those glutes firm and strong. Only release the squeeze when you push forward off the ball of your foot into the next step.

When you’re first getting started with your “glute walk,” try to hit a goal of 100 “squeeze” steps during your walk. After that, take a break and see how you feel. If you think you can do more, go for it! Just don’t overdo it or you may not be able to sit down the next day due to soreness.

Don’t Underestimate the Power of Small Movements

Right now you’re probably thinking, “This sounds too easy. I doubt it will make much of a difference for my glutes.” But don’t underestimate the power of small, concentrated movements when building muscle and definition. Think about pulse squats, for example. You’re only moving your body an inch or so up and down, but the burning in your muscles is evidence that you’re doing some serious work and can expect great results.

I have no doubt you’ll feel the burn in your muscles when you do regular “glute walks.” In fact, you’ll probably be surprised to discover just how tired your glutes are at the end of each walk. Once your glutes get stronger, you may want to move on to more intense workouts to shape and build your behind. But glute walks are a great way to begin your journey to a more shapely behind. What are you waiting for? Get out there and start walking!

Dealing With Allergies? Try These Springtime Allergy Tips

Spring is one of the most beautiful times of the year. If you live in a climate that gets snow in the winter, you probably welcome the warming temperatures and the drying ground that come in the spring. Other lovely things about spring include the birth of baby animals, birds singing beautifully all around, and trees developing gorgeous blossoms.

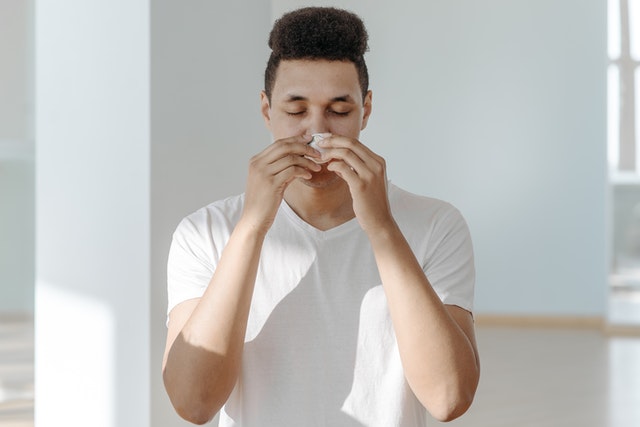
Unfortunately, all of these beauties come at a price for many people. If you have allergies, you probably have a love-hate relationship with spring. I understand because I’m right there with you! The good news is that you may have more control over your springtime allergies than you realize. Here is a list of some of my favorite allergy tips. Give them a try and see if they help you enjoy the spring season a little more.

Try Nasal Sprays

If you’re experiencing fun symptoms like post-nasal drip and nasal congestion as part of your seasonal allergies, there are nasal sprays that may help. Nasal steroids such as Flonase® and Nasonex® are non-sedating, so you can use them in the daytime without worrying about unwanted drowsiness. It is important to keep in mind that these types of nasal sprays don’t have immediate effects, so you’ll need to be patient and give them time to work.

Understand That Herbs Might Make Things Worse

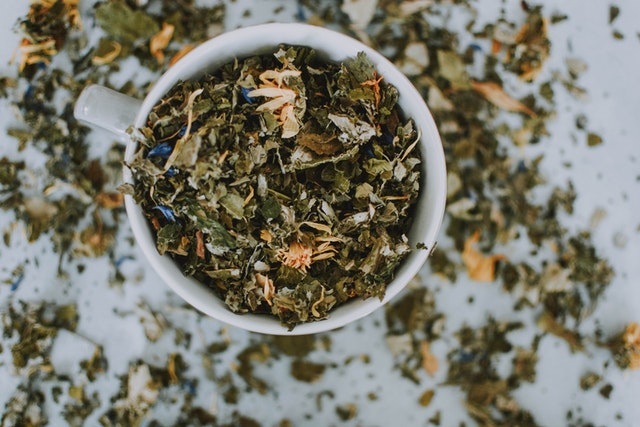
Listen, I like herbs and think they make great remedies for a lot of conditions. But when it comes to seasonal allergies, some herbs can make your symptoms worse. This makes sense when you consider the fact that in the springtime, it’s pollen from plants that make your allergies flare up. So even if you like to use herbs for other ailments, remember that they are plants as well and you may be allergic to some of them without realizing it!

Take Antihistamines

Antihistamines block histamine release. Histamines are chemicals in your immune system that cause your allergy symptoms when they’re triggered by one or more allergens. While histamines are important, they become highly overactive in people with seasonal allergies. Antihistamines can help calm them down to ease your springtime allergy symptoms.

Stay Indoors on Windy Days

Pollen is airborne, which means that it has an easier time making its way around when the wind is blowing. If you know it’s going to be a windy spring day, do your best to stay indoors as much as possible so you can avoid airborne allergens. You should also track the pollen count so you can avoid being outside on days when the pollen count is high.

Vacuum Often

Vacuuming isn’t my favorite pastime, but when I do it regularly, it helps reduce my springtime allergy symptoms. Vacuuming is a great way to get rid of the pollens and other allergens that make their way into your home on your shoes or clothing. Dusting is also important for the same reasons.

Consider Allergy Shots

If all else fails, you may be a good candidate for allergy shots. Talk to an allergist to find out if this is a good option for your springtime allergies. Allergy shots are also known as immunotherapy. These shots can decrease your sensitivity to pollen and other allergens.

The shots work by exposing you to small amounts of a specific allergen. For example, if tree pollen triggers your allergy symptoms, you would receive an allergy shot containing tree pollen protein. It sounds counterintuitive, but when you receive small amounts of a particular allergen, it helps to desensitize you so your body doesn’t react so strongly to future exposures to that allergen.

Give These Remedies a Try

These remedies may not be a cure for springtime allergies, but they can certainly help minimize your symptoms! Give them all a try until you find out what options work best for reducing your allergy symptoms this spring.

The SPF Debate: Protecting Your Skin Against Blue Light

Research suggests blue light emitted from smartphones and computer screens can damage the skin. It is crazy to think that checking social media or writing a term paper could harm you, but it can.

It seems like every day there is something else that leads people to distrust technology. Still, despite the hoopla, research suggests blue light is not as scary as some make it out to be. Yet, it is still advised that you take necessary precautions to limit your exposure to blue light.

The Dangers of Blue Light 

Like the sun, blue light emits high-energy visible light, but it is not as dangerous. Long-term and unprotected exposure to the sun can cause DNA damage and cancer. You will not fight the same threats sitting in front of your computer screen.

Still, while smartphone or laptop use isn't life-threatening, it is harmful. The HEV light can generate reactive oxygen species — compounds that damage the cellular structure. The compounds hinder collagen production, affecting elasticity in the skin. Long-term exposure to blue light can lead to wrinkling and pigment changes in the skin.

The good news, no current research points to blue light causing skin cancer. Still, the pervasive light can cause harm, including:

  • Collagen breakdown 
  • Hyperpigmentation 
  • Premature aging 
  • Inflammation 
  • Redness 
  • Swelling or Edema 
  • Oxidative stress

Additionally, blue light affects sleep-wake cycles. Sleep interruptions can interfere with hormone production, causing skin problems. Still, more research is necessary to determine the full extent of blue light risks.

The Benefits of Blue Light

Despite the proposed risks of blue light, it does have its benefits. Medical researchers now use controlled blue light to reduce the chances of skin cancer. Controlled blue light can have positive effects. It can boost your energy levels, decrease inflammation, and reduce bacteria.

Uncontrolled blue light is where risks live. Light therapy maintains wavelengths of 415 nanometers — the proven wavelength for benefits. Sitting in front of a screen is not the same as therapeutic light, so you can't claim phone time as therapy (darn).

Protection From Blue Light 

Protection against blue light is essential. Thankfully, you do not have to spend a lot of money to protect against the HEV light. Many computers and portable devices have blue light filtration options. Additionally, you can find several apps to protect your skin and eyes. Physical products, such as blue light glasses and screen protectors, are also available.

Still, for complete skin protection, dermatologists recommend using a blue-light-blocking sunscreen. You may want to find an SPF product with zinc oxide and titanium dioxide because each is reflective. It is also possible to find newer products with beneficial antioxidants and vitamins.

People might discount the need for sunscreen indoors, but indoor environments are changing. The addition of electronic HEV-producing devices demands extra protection and concern. While indoor blue light is not as intense as environmental wavelengths, it can still harm the skin.

Researchers continue to learn new things about blue light every day. Still, what seems to become clearer is the need for added protection. While you may not be ready for indoor SPF, at least consider downloading an app.